
Bright, secure spaces make life easier. Yet high electricity prices and messy wiring turn many buyers away from traditional fixtures. Enter solar flood lights—powerful, low-maintenance luminaires that drink sunshine by day and blast brightness by night. In this guide, you’ll learn how the tech works, what specs matter, how to size a system, and how to install and maintain it so you get years of dependable light.
What Makes Solar Flood Lights Different?
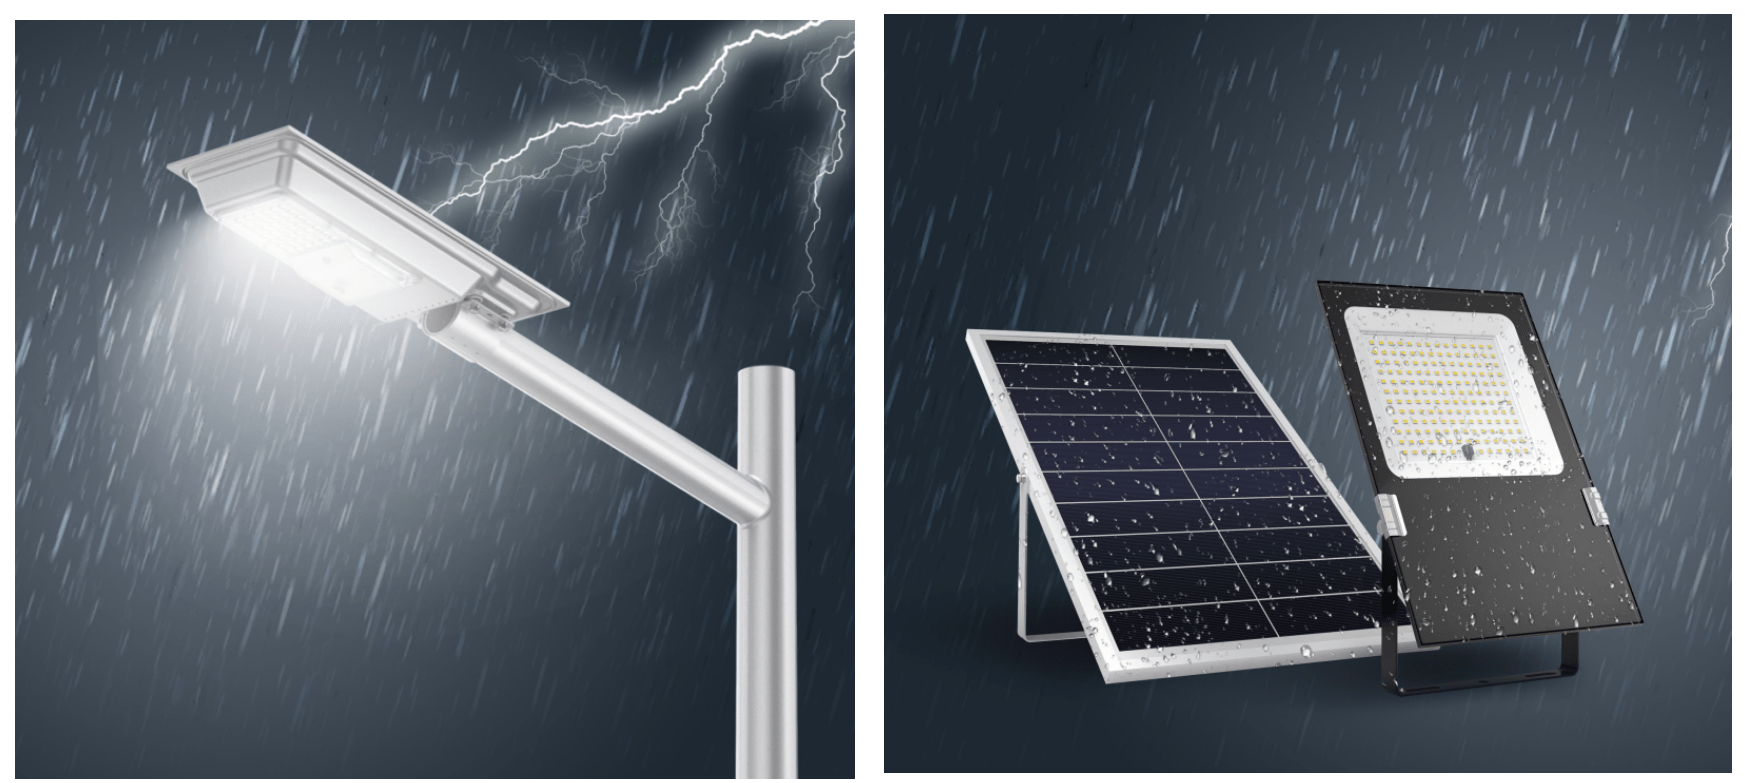
Traditional floodlights pull energy from the grid. Solar flood lights collect sunlight via a photovoltaic panel, store it in a battery, and drive high-efficiency LEDs after dusk. Consequently, you skip trenching, cabling, and ongoing electricity costs. Moreover, modern controllers add smart features like motion activation, timed schedules, and adaptive brightness, so you conserve energy without sacrificing security.
Key Benefits You’ll Notice Immediately
- Zero electricity bill
Every lumen comes from the sun, so you reduce monthly costs and protect yourself from price hikes. - Quick, cable-free setup
Because the panel, battery, and light form a closed system, you mount hardware and start shining—no permits for wiring in most settings. - Reliable performance
Today’s systems pair efficient LEDs with LiFePO₄ batteries. As a result, you enjoy long lifespans, fast charging, and consistent output. - Flexible placement
You can position the panel for peak sun while you aim the head where you need coverage. Therefore, you get optimal charging and targeted illumination. - Eco-friendly lighting
Since the sun powers the unit, you cut carbon emissions and avoid light sources with toxic materials.
How Solar Flood Lights Work (In Plain English)
- The panel converts sunlight into DC power.
- The charge controller manages energy flow, preventing over- or under-charging.
- The battery stores daytime energy for nighttime use.
- The LED array turns stored energy into bright, focused light.
- Sensors and timers optimize runtime by dimming, brightening, or switching on only when needed.
Because each component plays a distinct role, balanced design matters. A strong panel needs a battery that can hold enough energy; a bright LED array needs both to sustain light through long nights.
Essential Specs That Actually Matter
Choose confidently by focusing on these specifications rather than marketing fluff.
Lumen Output and Beam Angle
Lumen ratings reveal brightness, while beam angle dictates coverage. For driveways and entries, 800–2,000 lumens usually suffice. For wide yards or security perimeters, reach for 2,000–8,000 lumens. Meanwhile, a 60–90° beam punches farther; a 100–120° beam spreads wider for general areas.
Battery Type and Capacity
Look for LiFePO₄ (lithium iron phosphate) batteries. They handle more charge cycles, tolerate heat better, and deliver safer performance. Capacity appears in watt-hours (Wh) or amp-hours (Ah). As a rule of thumb, battery watt-hours should cover at least 1.5–2× a typical night’s consumption to ride out cloudy days.
Solar Panel Size and Efficiency
Monocrystalline panels charge faster than polycrystalline. Larger wattage panels recover more energy in winter or overcast weather. Additionally, adjustable brackets help you hit the right tilt (your latitude ± 10° works well) and reduce seasonal losses.
Motion Sensors, Timers, and Modes
Smart controls extend runtime. For example, a dim-to-bright mode runs at 20–30% power and jumps to full output on motion. Timers let you cut light after midnight to save energy while still deterring intruders at peak hours.
Build Quality and Weatherproofing
Check IP ratings: IP65 or higher keeps out dust and water jets. Anodized aluminum housings resist corrosion; UV-stable plastics prevent yellowing. Furthermore, stainless fasteners and sealed cable glands keep weather from sneaking in.
Color Temperature and CRI
Most outdoor flood lights use 4000–6000K for crisp, security-oriented light. Warmer 3000–3500K softens landscaping scenes. A CRI of 80+ helps cameras capture truer colors for better identification.
Sizing Your System (Simple Math You Can Trust)
Right-size your setup using this process:
- Estimate nightly runtime.
Example: 6 hours of average output. - Choose lumen target and power draw.
Suppose you want 2,000 lumens and your light pulls 20W on average (because motion dimming reduces full-power time). - Calculate daily energy need.
20W × 6h = 120Wh. - Pick battery capacity with buffer.
Aim for 1.5–2×: 180–240Wh to survive cloudy spells. - Size the panel for your sun hours.
If your location averages 5 peak sun hours, choose a panel that can deliver ~150Wh per day (120Wh need ÷ charging efficiency margin). A 40W–50W panel often covers it, considering controller and temperature losses.
Because climates vary, adjust for winter’s shorter days. Likewise, account for shading from trees, walls, or rooflines.
Placement: Where Your Investment Pays Off
- Entries and driveways: Mount 3–4 meters high, angle the head across the approach path to reduce glare and lengthen throw.
- Perimeters and alleys: Space fixtures so beam edges overlap by ~20% for uniform coverage.
- Yards and gardens: Place the panel where it sees sun from late morning to mid-afternoon; aim the head away from bedroom windows.
- Work areas: Use tighter beams for task zones and wide beams for staging zones.
Additionally, avoid streetlight spill on the sensor. Ambient light can trick the controller into staying off, so give the photocell a true “dark” view at night.
Installation: Fast, Clean, and DIY-Friendly
You can mount most solar flood lights with a drill, anchors, and a level. Here’s a streamlined approach:
- Mark and drill: Use the bracket as a template; drill pilot holes and insert appropriate anchors for brick, concrete, or wood.
- Mount the panel: Set the tilt for your latitude; point it roughly south in the Northern Hemisphere or north in the Southern Hemisphere.
- Mount the light head: Aim slightly downward to keep glare low and coverage deep.
- Connect neatly: Route the low-voltage cable in UV-safe conduit where possible.
- Charge fully: Let the battery charge a full sunny day before testing performance modes.
Because wind loads increase with height, tighten hardware, use thread-locker where recommended, and verify that brackets lock firmly.
Operation Tips That Stretch Runtime
- Use motion mode to avoid running full blast all night.
- Trim trees twice a year so noon sun hits the panel.
- Clean the glass on panels and lenses quarterly; dust reduces efficiency.
- Update schedules seasonally as nights lengthen or shorten.
- Check fasteners after storms and re-aim if wind nudged the bracket.
Therefore, you maintain consistent performance without constant tinkering.
Cost Expectations and Value
You’ll find flood lights for sale across a wide price band. Budget kits cover small entries; mid-range systems light up medium yards; pro-grade units handle wide perimeters and work areas. Since ongoing electricity costs drop to zero, solar flood lights for sale often pay for themselves versus wired alternatives, especially where trenching would add labor and permits. Furthermore, off-grid operation keeps your lights on during power outages, which improves security when you need it most.
Solar vs. Wired Outdoor Flood Lights
Wired outdoor flood lights deliver steady brightness as long as the grid stays up. However, installation takes longer, and utility bills never stop. Solar flood lights install quickly, scale easily, and keep shining during outages. Consequently, the solar route wins for detached structures, rural properties, parking pads, and temporary sites. Meanwhile, wired may suit stadium-level brightness needs or shaded courtyards with poor solar exposure. Choose based on sun access, coverage goals, and your appetite for project complexity.
Security and Smart Home Integration
Modern units pair with cameras or work alongside them:
- Synchronized deterrence: Motion hits, lights surge, cameras capture clear footage.
- Separate solar panel + remote head: You can mount the panel high and secure, then aim light and camera together.
- Smart triggers: Some systems accept low-voltage triggers or offer app control. While not universal, you can still align detection zones by aiming PIR sensors to match camera views.
Because glare can wash out images, angle the head so light grazes across the scene rather than blasting straight into the lens.
Common Mistakes to Avoid
- Under-sizing the panel/battery: Your light will dim early or turn off before dawn.
- Ignoring shade: Even small shadows at midday cut charge dramatically.
- Mounting too high: Output spreads thin, and detection weakens.
- Using the wrong color temperature: Ultra-cool whites can look harsh in landscapes; pick 4000–5000K for balance.
- Skipping maintenance: Dusty panels mimic cloudy weather every day.
Therefore, plan carefully, verify sun exposure, and treat maintenance like a five-minute quarterly habit.
Real-World Use Cases
- Home security: Cover gates, side yards, and alleyways without running new power.
- Farms and smallholdings: Light sheds, corrals, and water points where trenching feels impractical.
- Construction sites: Deploy temporary lighting that moves as the project evolves.
- Retail backlots: Boost visibility near dumpsters and loading areas while avoiding extra utility meters.
- Event spaces: Add light for pop-up markets or parking overflow, then relocate fixtures after the event.
Because flexibility defines the category, solar flood lights adapt as your property and needs change.
A Quick Buying Checklist
- Target lumens and beam angle match your area size.
- LiFePO₄ battery capacity equals 1.5–2× nightly demand.
- Monocrystalline panel wattage suits winter sun hours.
- IP65+ weather rating and corrosion-resistant hardware.
- Motion + timer modes with adjustable sensitivity.
- Color temperature fits security or landscape goals.
- Clear warranty and accessible spare parts.
Follow this list, and you’ll select confidently the first time.
Conclusion
Solar flood lights give you bright, reliable illumination without wires, permits, or power bills. Choose balanced components, size for winter sun, and use smart modes that stretch battery life. Then place the panel where the sun thrives, aim the head for even coverage, and schedule seasonal adjustments. With those steps, you secure entrances, protect perimeters, and showcase outdoor spaces while your energy cost drops to zero. Because the sun keeps rising, your lights keep working—night after night.
FAQs
What makes solar flood lights brighter now than older models?
Modern LEDs push higher lumens per watt, while LiFePO₄ batteries and efficient controllers reduce losses. Consequently, you get stronger beams from compact fixtures.
How long do solar flood lights run on a full charge?
Typical setups deliver 8–12 hours with motion-assisted modes. Runtime grows when you use dim-to-bright strategies and right-size the panel and battery.
Do solar flood lights work during cloudy weather?
Yes, although performance depends on battery reserve and panel size. A 1.5–2× battery buffer and a larger panel carry you through gray spells.
Can I replace the battery later?
In most quality units, yes. Look for accessible housings and documented battery specs so you can swap like-for-like when capacity fades.
What height should I mount outdoor flood lights?
For residential zones, 2.5–4 meters works well. Higher mounting spreads light wider but weakens motion detection, so balance height with coverage needs.
Will solar flood lights bother neighbors?
Aim fixtures slightly downward, shield edges if needed, and pick appropriate color temperature. Additionally, motion-only modes limit light pollution.
How do I compare flood lights for sale without getting misled?
Focus on lumens, battery watt-hours, panel wattage, IP rating, and warranty length. Marketing terms vary, but these numbers reveal real performance.
What’s the difference between outdoor flood lights and solar ones?
Wired outdoor flood lights draw grid power and require cabling; solar flood lights operate off-grid with a panel and battery. Choose based on sun access, installation constraints, and brightness goals.
Can I use solar flood lights with security cameras?
Absolutely. Mount lights to graze across the scene, align motion zones with the camera’s field of view, and test at night to fine-tune angles.
How often should I maintain the system?
Clean panels and lenses every three months, inspect hardware after storms, and update schedules as seasons shift. Small habits keep performance high.
Shop Online : Smart Life Lighting and Electrical