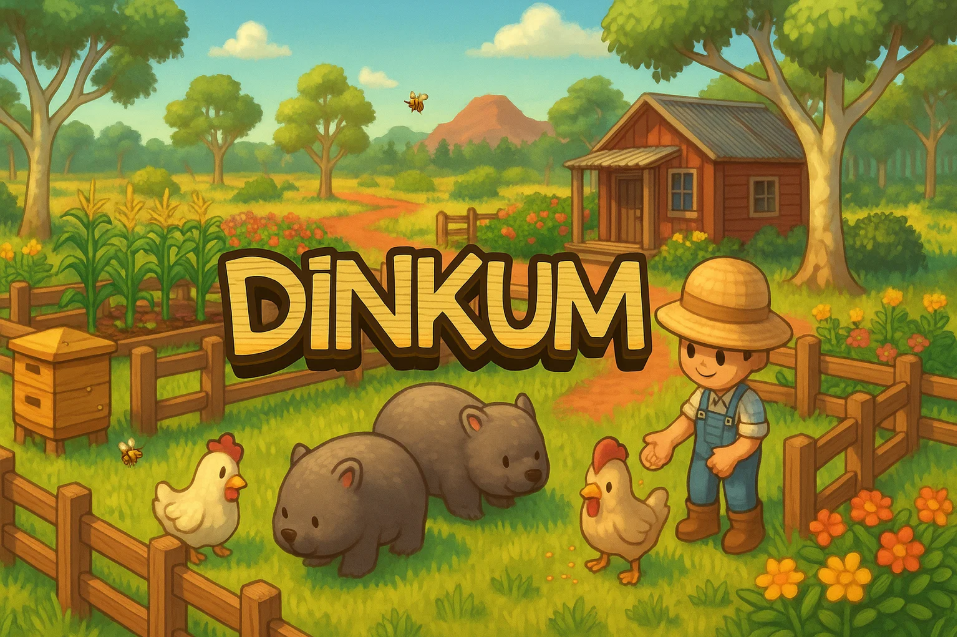
Building your own town in Dinkum is one of the most rewarding parts of the game. Whether you want a cozy fishing village, a modern city, or a tropical resort, organizing your town into themed districts can make it feel more alive and immersive. Instead of scattering buildings randomly, you can group similar facilities and decorations together to create areas with unique identities. Here’s how to plan and build themed districts that make your Dinkum world stand out.
1. Start with a Layout Plan
Before you place a single building, take a look at your map. Identify where rivers, forests, and cliffs are—these natural features can help shape your town’s design. For example, you can place your fishing district near the river or beach, while your farming area might work best on flat, open ground.
A good tip is to sketch a rough layout in your mind (or on paper) before you start building. Think of how your villagers will move between areas and where you want your central hub to be. Having a plan helps you avoid messy layouts that you’ll later want to rebuild.
2. Define Each District’s Theme
Once you know your layout, decide on what kind of themes you want. Here are a few popular district ideas players often use:
-
Farmstead District – With barns, silos, and fenced plots for animals. Add wooden paths and hay bales for a rustic vibe.
-
Shopping Street – Place all the town’s shops in one area and decorate with street lamps, benches, and potted plants.
-
Beachfront Boardwalk – Use wooden decking, surfboards, and outdoor stalls near the water to create a lively coastal feel.
-
Industrial Zone – Perfect for placing machines and crafting stations together. Use concrete paths and metal fences for a more rugged look.
-
Residential Area – Build villager houses with flower beds, small gardens, and cozy outdoor furniture.
Each area doesn’t have to be huge—sometimes even a few matching decorations can tie the theme together beautifully.
3. Match Decorations and Paths
Decorations and paths are what really bring your theme to life. For example, marble or brick paths give a town center a classy look, while wooden planks or dirt paths fit perfectly in rural zones.
If you need certain crafting materials or decorative items, you can always buy Dinkum items from trusted marketplaces to complete your vision faster. This is especially useful when you’re missing a specific piece or want to finish your design without waiting for daily shop refreshes. Just make sure to use resources wisely and maintain that handcrafted Dinkum charm.
4. Use Landscaping to Separate Areas
Natural barriers like rivers, cliffs, or even tree lines can help define your town’s districts. Instead of relying only on fences, try using landscaping tools to carve out small hills or ponds that make each section feel distinct.
Adding bridges between zones not only improves accessibility but also gives your town a realistic touch. You can even use different bridge styles for each district—wooden bridges for rural areas, stone ones for city sections, and rope bridges for more natural environments.
5. Connect Themes with Lighting and Details
Lighting is an underrated part of Dinkum’s design. It can make your districts feel warm and lively at night. Lanterns, fairy lights, and lampposts can all reinforce your district’s mood. For instance, soft lanterns look great in a cozy village, while modern streetlights suit urban areas.
Don’t forget the small details like signs, flower pots, and seating areas. These tiny additions make your town feel “lived in” and tie the overall design together.
6. Create Functional Flow Between Areas
While aesthetics are important, make sure your layout also works for daily gameplay. Place your farming zone near storage sheds, and your crafting area close to the mines or machine stations. A functional layout saves time during chores and makes your gameplay experience smoother.
If you’re short on specific tools or decor pieces, you can get Dinkum items instantly no waiting through safe player-to-player trading or in-game exchanges. It’s a convenient option when you’re eager to finish your themed district and move on to the next project.
7. Showcase Your Town
After you’ve built and polished your themed districts, don’t be afraid to show them off! Take screenshots during sunrise or sunset to highlight your best angles, and share them on community forums or social platforms. Many players draw inspiration from others’ designs, and you might even get helpful feedback or new ideas for improvement.
I personally love how creative the Dinkum community is—some players have even turned their towns into storybook-like islands with carefully matched furniture and terrain. It’s amazing to see what’s possible when you start treating your town as a set of living, themed spaces.
8. Keep Expanding and Evolving
Your town doesn’t have to be perfect right away. As you unlock more decorations and crafting recipes, you can keep improving each district or even add new ones. Maybe your fishing area becomes a seaside resort later, or your farmland evolves into a botanical garden.
That’s the beauty of Dinkum—your town grows as you do. Whether you gather everything through gameplay or supplement your builds using services like U4GM, the key is to have fun expressing your creativity.
Creating themed districts in Dinkum isn’t just about aesthetics—it’s about storytelling. Each area you design reflects a part of your playstyle and imagination. With a good layout, cohesive decorations, and a touch of personal flair, your island can feel truly alive. So grab your tools, pick your favorite themes, and start shaping the town of your dreams today.

