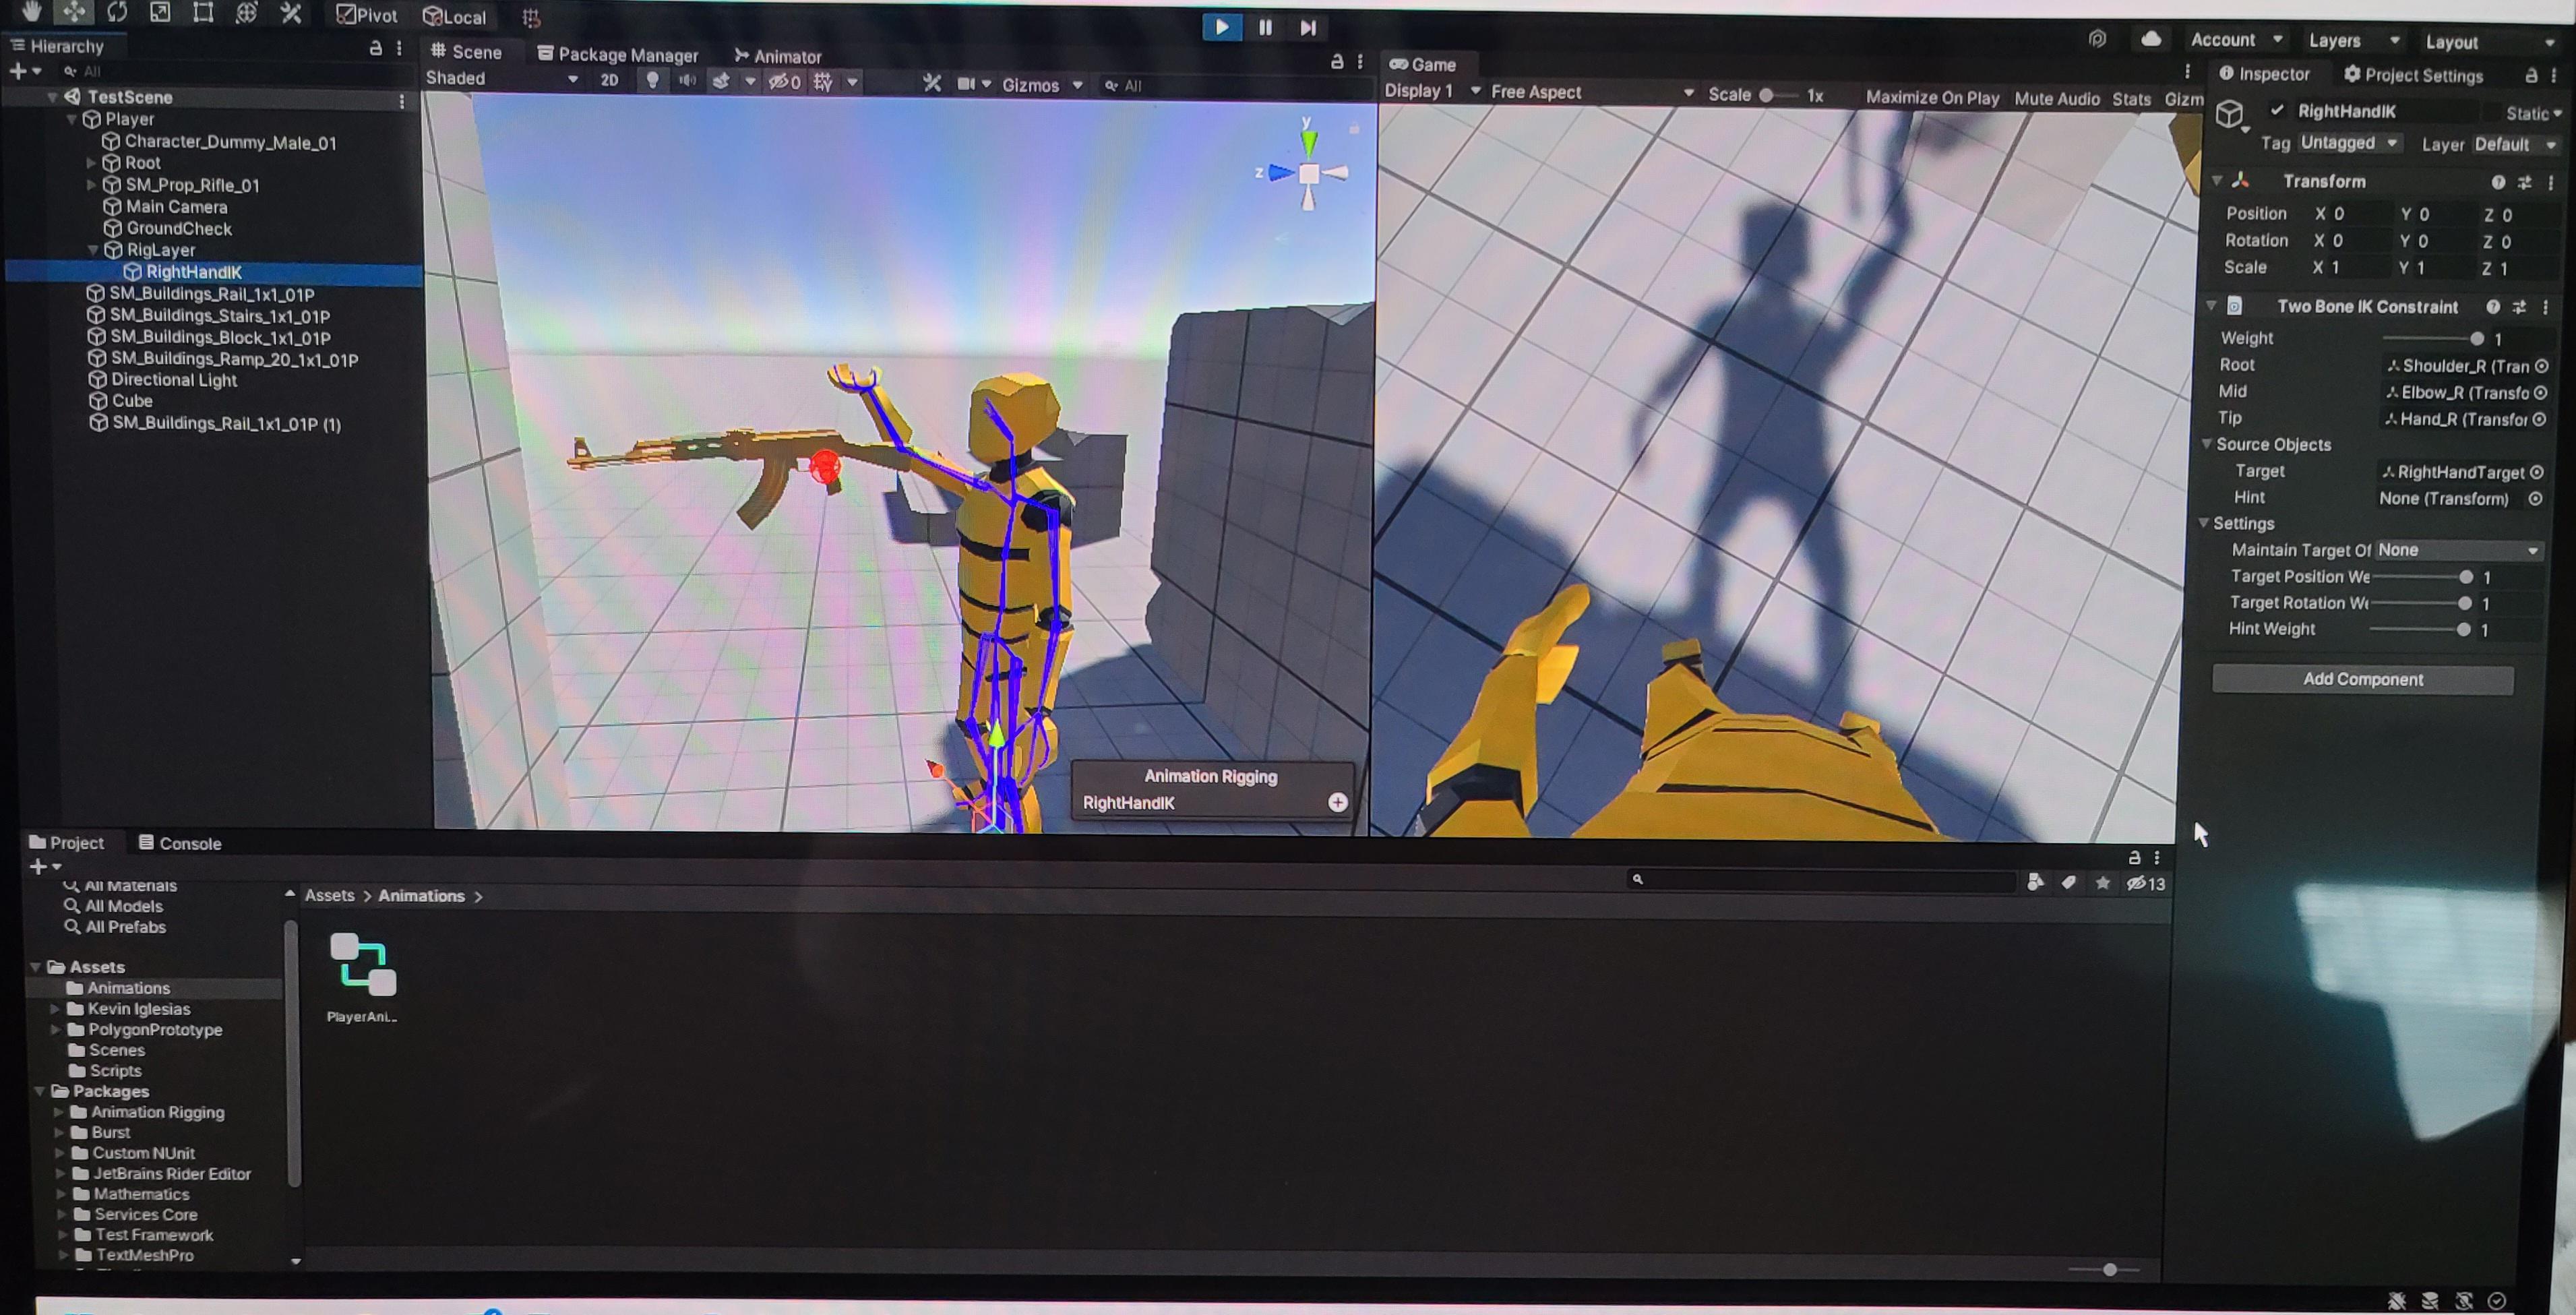
Animations are vital for creating dynamic and engaging experiences in games. In Unity, testing animations effectively ensures that they perform as expected and contribute to a seamless gaming experience. This guide will walk you through various methods for testing animations in Unity, from basic setup to advanced troubleshooting.
1. Importing and Setting Up Animations
Before you start testing, you need to ensure your animations are correctly imported and set up in Unity.
Importing Animation Assets
- Drag and Drop: Simply drag your animation files (e.g., .fbx, .anim) into the Unity Project window. Unity will automatically recognize and import them.
- Using Import Options: Alternatively, go to Assets > Import New Asset and select the file from your computer. Unity will import the asset into your project.
Setting Up Animator Controller
-
Create an Animator Controller:
- Right-click in the Project window, select Create > Animator Controller. Name it according to the asset or character (e.g., "Player_Animator").
-
Assign the Animator Controller:
- Select the game object that will use the animation.
- In the Inspector window, find the Animator component and drag the Animator Controller into the Controller field.
-
Add Animation Clips:
- Open the Animator window by selecting Window > Animation > Animator.
- Drag the imported animation clips into the Animator window to create states and set up transitions.
2. Testing Animations in Play Mode
Play Mode in Unity allows you to test animations in real-time, providing a way to see how animations behave within the context of your game.
Entering Play Mode
-
Start Play Mode:
- Click the Play button at the top of the Unity Editor. This simulates running your game, allowing you to observe animations in action.
-
Observe Animation Playback:
- Watch how the animation plays on your game object. Check for smoothness, correct transitions, and overall performance.
-
Adjust Transitions:
- If animations don’t transition smoothly, pause Play Mode and adjust the transition settings in the Animator window, such as transition duration and exit time.
3. Using the Animation Window for Quick Previews
For quick tests without running the entire game, the Animation window is a valuable tool.
Previewing Animations
-
Open the Animation Window:
- Go to Window > Animation > Animation.
- Select the game object with the animation clip.
-
Play and Scrub Through:
- Use the play button in the Animation window to watch the animation. You can scrub through the timeline to review specific parts.
-
Adjust Playback Speed:
- You can adjust the playback speed in the Animation window to see how the animation behaves at different speeds.
4. Testing with Animation Parameters
Animation parameters in Unity allow for dynamic control over animations based on in-game conditions.
Setting Up Parameters
-
Create Parameters:
- In the Animator window, click on the Parameters tab. Add parameters like “speed,” “jump,” or “attack” based on your animation needs.
-
Testing Parameters:
- While in Play Mode, manually adjust these parameters using the Animator window. Observe how changes affect animation playback to ensure correct behavior under different conditions.
5. Using Animation Layers for Complex Scenarios
For complex animations that involve multiple actions simultaneously, animation layers help manage and test these layers effectively.
Setting Up Layers
-
Add Layers:
- In the Animator window, create additional layers for different types of animations (e.g., one for body movement, another for facial expressions).
-
Test Layer Interactions:
- Enter Play Mode to test how different animation layers interact. Ensure that blending between layers is smooth and doesn’t cause visual issues.
6. Debugging Animation Issues
If you encounter problems with your animations, Unity offers various tools and settings to help resolve issues.
Common Fixes
-
Check Animation Speed:
- If animations are too fast or slow, adjust the speed parameter in the Animator Controller or the animation clip’s Import Settings.
-
Root Motion:
- For characters, ensure that Root Motion is correctly enabled if the animation affects the character’s movement. Adjust settings in the Animator component as needed.
-
Refine Transitions:
- If transitions between animations are abrupt, adjust transition parameters such as duration and conditions to achieve smoother results.
7. Finalizing Your Animation
Once testing is complete, make any final adjustments to ensure that the animations meet your expectations and integrate seamlessly into the game.
Review and Polish
-
Final Review:
- Conduct a final review in Play Mode to ensure all animations function correctly within the game’s context.
-
Optimize:
- Optimize animation settings for performance, ensuring that the animations run smoothly without causing lag or performance issues.
Conclusion
Testing animations in Unity is a crucial step in ensuring that your game’s visual elements function as intended. By following the steps outlined in this guide, you can effectively test and refine your animations, making sure they enhance the overall gaming experience. From setting up Animator Controllers to debugging issues, Unity provides a robust set of tools to help you achieve high-quality animations.

