
Windows play an important role in our homes, not only allowing natural light and fresh air in but also contributing to security and energy efficiency. However, over time, the hardware attached to them—like the window handle- can wear out or break.
A stiff, loose, or broken handle can make it difficult to open or secure your window, leaving your home vulnerable to drafts and even security risks. Fortunately, replacing a handle is a relatively quick and simple task that most homeowners can complete with just a few tools.
This step-by-step guide will walk you through how to replace a handle in just minutes, saving you the cost of hiring a professional and restoring your window’s functionality with minimal effort.
Why You Might Need to Replace a Window Handle
Before diving into the replacement process, it’s worth understanding why window handles fail in the first place. Common reasons include:
Wear and Tear – Daily use over several years can weaken internal mechanisms.
Rust or Corrosion – Especially common in humid environments or on windows near kitchens or bathrooms.
Broken Locking Mechanism – If the handle no longer locks securely, it poses a safety issue.
Stiff Movement – Handles that are hard to turn may indicate internal damage or dirt buildup.
Aesthetic Upgrade – Some homeowners simply replace handles for a more modern look.
Recognizing the reason for replacement helps you decide whether you need just a new handle or if the underlying window mechanism requires repair, too.
Tools and Materials You’ll Need
Replacing a window handle doesn’t require a workshop full of tools. In fact, you’ll only need a few basics:
- Replacement handle (ensure it matches your window type)
- Screwdriver (usually a flathead or Phillips, depending on the screws)
- Tape measure (to check handle size and spindle length)
- Small container or magnetic tray (to hold screws)
- Lubricant spray (optional, if the locking mechanism is stiff)
Step 1: Identify the Type of Window Handle
Not all handles are the same. Before buying a replacement, it’s important to identify which type you need. The most common windows are:
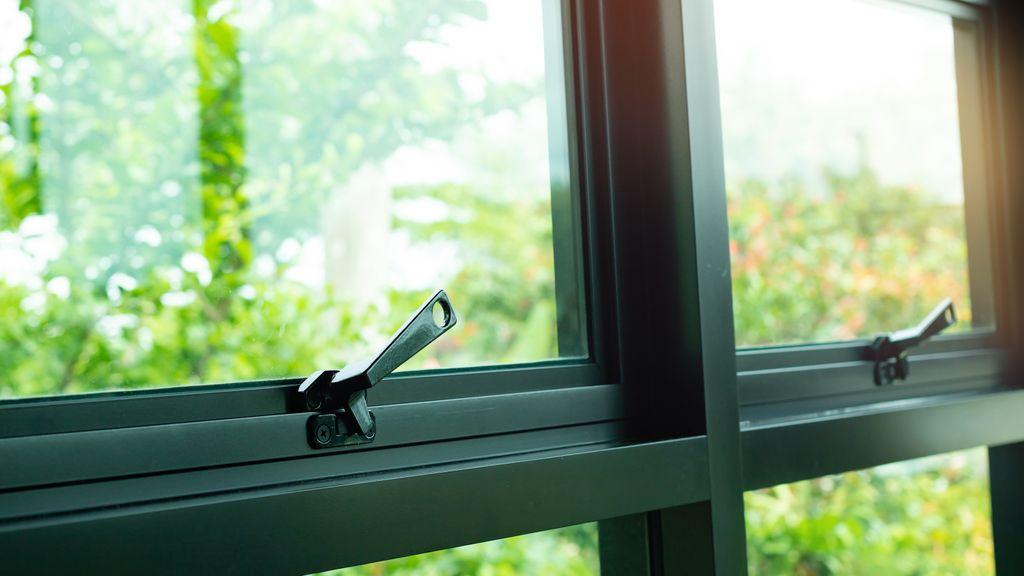
Espagnolette Handles (Espag) – These are the most common type, especially for uPVC windows. They have a square spindle that turns to lock or unlock the window.
Cockspur Handles – Found on older uPVC or aluminum windows. They use a spur that latches onto a wedge block on the frame.
Tilt and Turn Handles – Common in European-style windows, allowing both tilting and side-opening.
Sash Handles – Designed for sliding sash windows, often with a lift or latch.
Check your existing handle and measure the spindle (the square metal bar that slots into the locking mechanism). Getting the correct size ensures your replacement works smoothly.
Step 2: Remove the Old Handle
Once you have the correct replacement, it’s time to remove the damaged handle:
Open the Window – This gives you access to the screws.
Locate the Screws – Often hidden under a small plastic cap or cover plate on the handle base. Gently pry the cover off with a flathead screwdriver.
Unscrew the Handle – Using the right screwdriver, carefully unscrew both screws. Place them in your container so they don’t get lost.
Remove the Handle – Pull the old handle away from the window frame. The spindle should slide out easily.
At this stage, check the spindle and locking mechanism inside the window to ensure there are no broken or jammed parts. If everything looks fine, you’re ready for the new handle.
Step 3: Fit the New Handle
Now for the satisfying part—installing the new handle:
Insert the Spindle – Slide the spindle of the new handle into the same slot as the old one. Ensure it fits snugly.
Align the Handle Base – Line up the screw holes with the holes in the frame.
Secure with Screws – Insert and tighten the screws. Don’t overtighten, as this may crack the frame or strip the screw threads.
Test the Movement – Turn the handle to check it operates smoothly. Ensure it locks and unlocks the window properly.
Replace Screw Covers – If your new handle comes with caps, snap them over the screws for a neat finish.
Step 4: Test the Window
Testing is just as important as installation. Open and close the window several times to confirm:
- The handle moves without stiffness.
- The locking mechanism engages securely.
- The handle feels firm and doesn’t wobble.
If the handle feels loose, check that the screws are fully tightened. If the locking mechanism doesn’t engage, you may need a different spindle length.
Tips for a Smooth Replacement
Measure Twice, Buy Once – Always double-check the spindle size and handle type before purchasing.
Keep Screws Safe – Even if your new handle comes with screws, keeping the originals as spares is a good idea.
Lubricate the Lock – A quick spray of silicone lubricant can make the mechanism last longer.
Replace in Pairs – If one handle has worn out, others may soon follow. Replacing them together can save time.
Upgrade for Security – Consider handles with key locks for added protection, especially on ground-floor windows.
Common Mistakes to Avoid
While replacing a handle is straightforward, a few mistakes can slow you down:
Buying the Wrong Type of Handle – Not all handles are universal; always match your replacement to your window.
Forgetting to Check the Spindle Length – A spindle that’s too short won’t reach the lock, while one that’s too long may jam.
Overtightening Screws – This can damage the handle base or strip the screw holes.
Ignoring the Locking Mechanism – Sometimes the issue isn’t just the handle; if the internal lock is damaged, replacing the handle won’t solve the problem.
How Long Does It Really Take?
For most homeowners, the process of replacing a handle takes less than 10 minutes per window. Once you’re familiar with the steps, you can swap out multiple handles in under an hour.
When to Call a Professional
Although most window handle replacements are DIY-friendly, there are situations where calling a professional makes sense:
The internal locking mechanism is broken.
The window frame is damaged.
You’re replacing specialty handles on unusual or antique windows.
If you encounter resistance or the new handle doesn’t align correctly, a professional installer can diagnose the issue quickly.
Conclusion
Replacing a window handle may seem intimidating at first, but in reality, it’s a quick and simple task that anyone with a screwdriver can tackle. With the right replacement handle and a bit of care, you can restore your window’s functionality, improve security, and even give your home a refreshed look—all in just a matter of minutes.
By following the steps outlined above, identifying the handle type, removing the old handle, fitting the new one, and testing the operation, you’ll save time, money, and hassle. Whether you’re dealing with a broken handle or upgrading for style, this is one of the easiest home improvement tasks you can accomplish in an afternoon.